Few things compare to the delightful aroma of freshly baked bread filling your kitchen. It’s comforting, and nostalgic, and fills your home with a warmth that no store-bought loaf can match. Classic White Sandwich Bread brings back memories of childhood, and family breakfasts, and is the perfect base for your favorite sandwich. Whether you’re a seasoned baker or a first-time bread maker, this recipe will help you create soft, fluffy bread with a golden crust and that unbeatable homemade taste.
Table of Contents
The Joy of Homemade Bread
Why Bake Your Bread?
Baking your bread is a rewarding experience that goes beyond just the end product. Here are several reasons to think about doing it:
- Freshness: Homemade bread is fresher than anything you’ll find at the store, bursting with flavor and aroma.
- No Preservatives: When you bake at home, you have control over what goes into your bread, allowing you to avoid preservatives and artificial ingredients.
- Personal Satisfaction: There’s an unmatched joy in creating something from scratch, and the reward is even sweeter when you take that first bite.
Brief Overview of the Recipe
In this article, you’ll learn how to make Classic White Sandwich Bread that is perfect for sandwiches, toast, or just enjoying with a bit of butter. With a few simple ingredients and straightforward steps, you’ll be on your way to baking success.
Ingredients Overview
Before diving into the recipe, let’s take a moment to overview the key ingredients you’ll need:
- Flour: The foundation of your bread.
- Yeast: The rising agent that gives your bread its airy texture.
- Sugar: For a hint of sweetness and to help activate the yeast.
- Salt: To enhance flavor and strengthen the dough.
- Butter: For richness and a soft crumb.
To make it easier, here’s a summary of the ingredients and equipment you’ll need.
| Ingredients | Quantity |
| Bread Flour (or All-Purpose Flour) | 4 cups (500g) |
| Active Dry Yeast | 2 ¼ teaspoons (1 packet) |
| Sugar | 2 tablespoons |
| Salt | 1 teaspoon |
| Unsalted Butter | 2 tablespoons, melted |
| Warm Water (110°F/43°C) | 1 ½ cups (360ml) |
Equipment:
- Mixing bowls
- Measuring cups and spoons
- Whisk
- Dough scraper or spatula
- Loaf pan
- Clean kitchen towel
- Oven
Key Ingredients for the Perfect White Sandwich Bread
Flour Types and Choosing the Right Flour
The type of flour you choose plays a significant role in the texture and flavor of your bread. While bread flour is often preferred for its higher protein content, all-purpose flour can also work well. Here are some options:
- Bread Flour: Contains more gluten, leading to a chewier texture and better rise.
- All-Purpose Flour: A versatile option that can yield good results but may result in a slightly softer bread.
Using unbleached flour can enhance the flavor and overall quality of your bread. Keep in mind that the quality of your flour affects the final outcome, so make sure to choose carefully.
Yeast: The Rising Agent
Yeast is crucial for making your bread rise. There are two main types:
- Active dry yeast: must be dissolved in warm water before use. It’s a popular choice for home bakers.
- Instant Yeast: Can be mixed directly with dry ingredients without prior activation. It usually rises faster than active dry yeast.
When working with yeast, make sure it is fresh for the best results. Store it in a cool, dry area, and make sure to check the expiration date.
Additional Ingredients: Sugar, Salt, and Butter
Each ingredient has a vital role:
- Sugar: Not only adds sweetness but also helps activate the yeast, leading to a better rise.
- Salt: Enhances the bread’s flavor and helps strengthen the dough by controlling yeast activity.
- Butter: Provides richness, softness, and a golden crust. You can substitute with oil if needed, but butter gives the best flavor.
Optional Add-ins for Flavor
Consider experimenting with different flavors to elevate your bread:
- Honey: For a touch of natural sweetness.
- Milk: can be substituted for water to achieve a creamier consistency.
Herbs and spices: Like garlic powder or rosemary for a unique twist.
Step-by-Step Instructions for Making Classic White Sandwich Bread
Preparation and Mixing
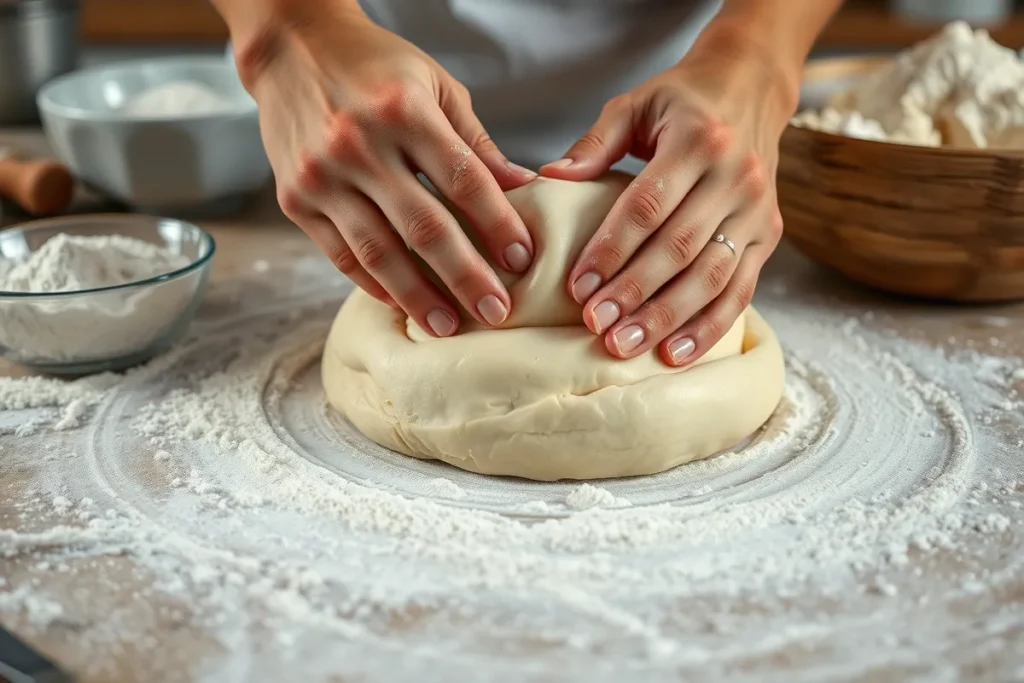
- Gather Your Ingredients: Start by measuring out all your ingredients. This makes the process smoother and ensures accuracy.
- Mix Dry Ingredients: In a large mixing bowl, combine 4 cups of flour, 2 ¼ teaspoons of active dry yeast, 2 tablespoons of sugar, and 1 teaspoon of salt. Whisk together to blend evenly.
- Add Warm Water and Butter: Pour in 1 ½ cups of warm water (around 110°F/43°C) and 2 tablespoons of melted unsalted butter. Mix with a spatula or wooden spoon until a rough dough comes together.
First Rise
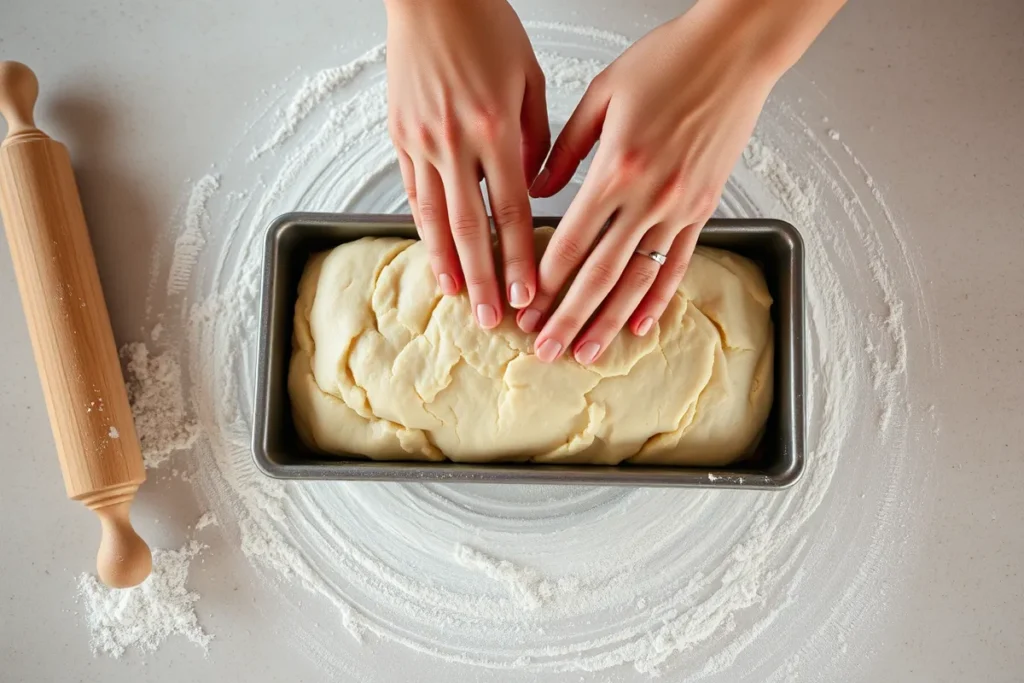
- Knead the dough: by placing it on a floured surface and working it for approximately 10 minutes until it becomes smooth and elastic. If the dough is sticky, gradually add more flour, but be careful not to add too much.
- Let It Rise: Place the dough in a greased bowl and cover it with a clean kitchen towel. Let it rise in a warm, draft-free area for about 1 to 2 hours, or until it doubles in size.
Shaping the Loaf
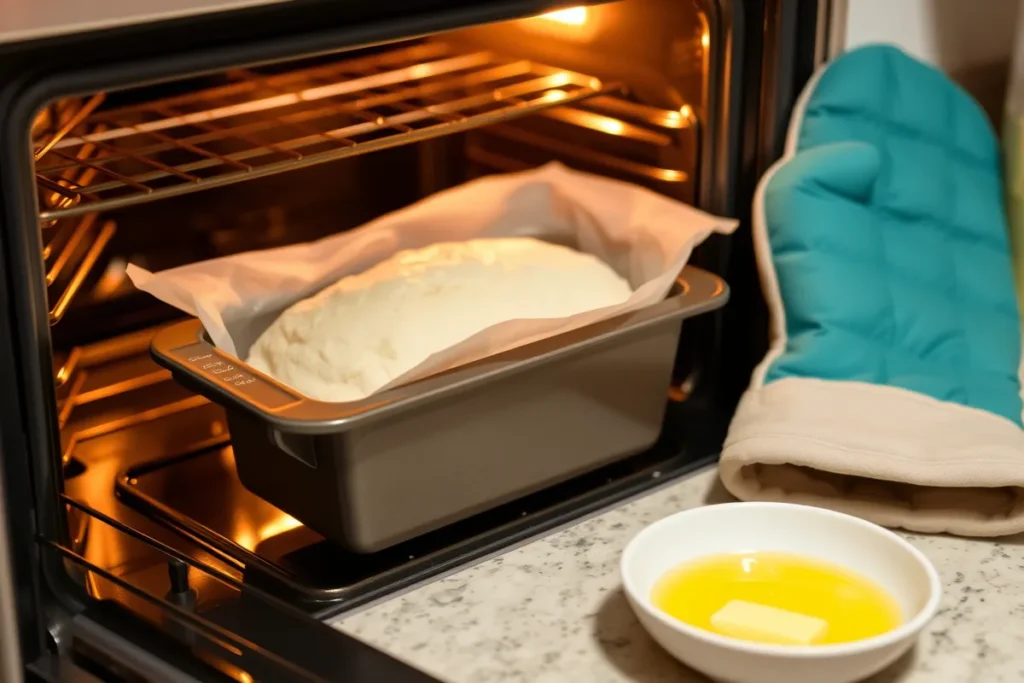
- Deflate and Shape: After the first rise, gently punch down the dough to release excess air. Turn it out onto a floured surface and shape it into a rectangle. Fold the edges toward the center, then roll it tightly to form a loaf shape.
- Place in the Loaf Pan: Transfer the shaped dough into a greased 9×5-inch loaf pan, seam side down.
Second Rise (Proofing)
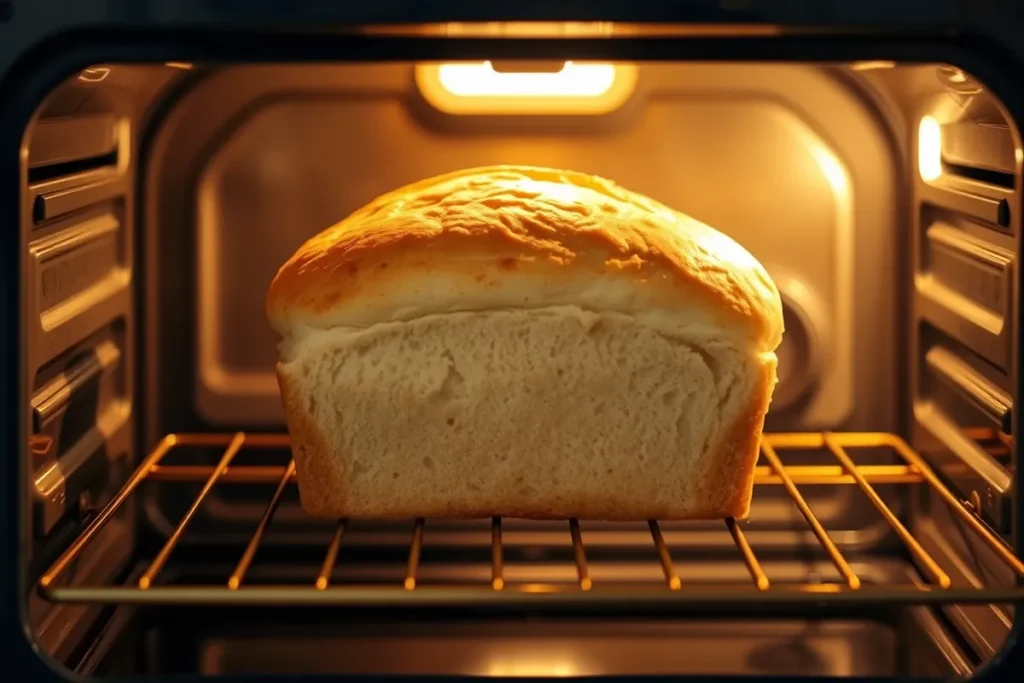
- Proof the Dough: Cover the loaf with the kitchen towel again. Allow it to rise for another 30 to 60 minutes until it has risen above the edges of the pan.
Baking to Perfection
- Preheat the Oven: While the dough is proofing, preheat your oven to 375°F (190°C).
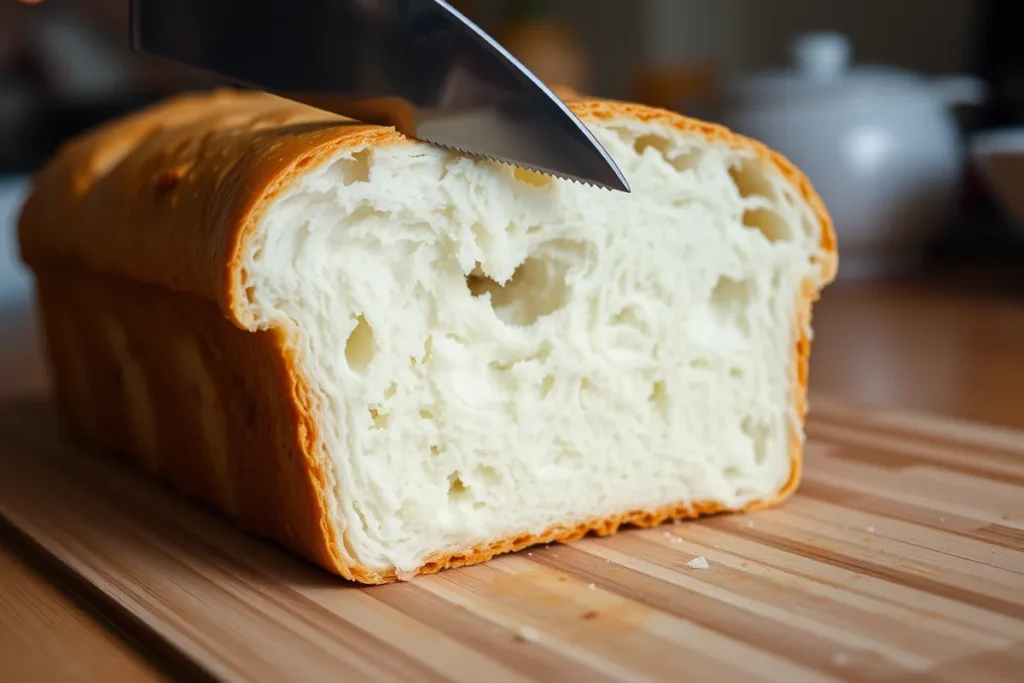
- Bake: Once the dough has risen adequately, place it in the preheated oven. Bake for 30 to 35 minutes, or until the top is a golden brown color and sounds hollow when you tap it.
Cooling and Slicing
- Allow the bread to cool: by taking it out of the oven and letting it sit in the pan for about 10 minutes. After that, move it to a wire rack to cool completely before slicing. This step is crucial; cooling allows the bread to finish setting.
Troubleshooting Common Bread-Making Issues
Dense or Heavy Bread
If your bread turns out dense, consider the following:
- Under-kneading: Ensure you knead the dough sufficiently to develop gluten.
- Poor Rise: Check if your yeast is fresh and properly activated.
Bread Doesn’t Rise
If your bread fails to rise, it could be due to:
- Inactive Yeast: Make sure your yeast is alive. A simple test is to mix it with warm water and sugar; it should foam within a few minutes.
- Cold Environment: Yeast thrives in warmth. Find a cozy spot for proofing, like near an oven or in a slightly warmed oven.
Uneven Texture or Air Pockets
If you notice an uneven texture, it may be due to:
- Over-kneading: Knead just enough to develop elasticity.
- Too Much Flour: Measure accurately to avoid adding too much.
Tips for Storing and Freezing Classic White Sandwich Bread
Proper Storage Techniques
To keep your bread fresh:
- Use a Bread Box or Airtight Container: Store it at room temperature to maintain moisture without becoming stale.
- Avoid Refrigeration: It can dry out the bread; only refrigerate if necessary, and it can accelerate staling.
Freezing Tips
If you have leftover bread:
- Slice Before Freezing: This makes it easy to grab just what you need.
- Wrap Properly: Use plastic wrap or aluminum foil, then place the slices in a freezer-safe bag.
- Thawing: When ready to eat, let it thaw at room temperature or pop slices in the toaster directly from the freezer.
Serving Suggestions: Making the Perfect Sandwich or Toast
Classic Sandwich Ideas
Once you’ve mastered this Classic White Sandwich Bread, the possibilities are endless:
- BLT: Layer crispy bacon, fresh lettuce, and juicy tomatoes for a classic combination.
- Ham and Cheese: A simple yet satisfying choice, perfect for lunches.
- Grilled Cheese: Melt your favorite cheese between two slices and grill until golden for a comforting meal.
Creative Toast Toppings
Feeling adventurous? Try these toast ideas:
- Avocado Toast: Smash ripe avocado on a slice and sprinkle with salt, pepper, and a drizzle of olive oil.
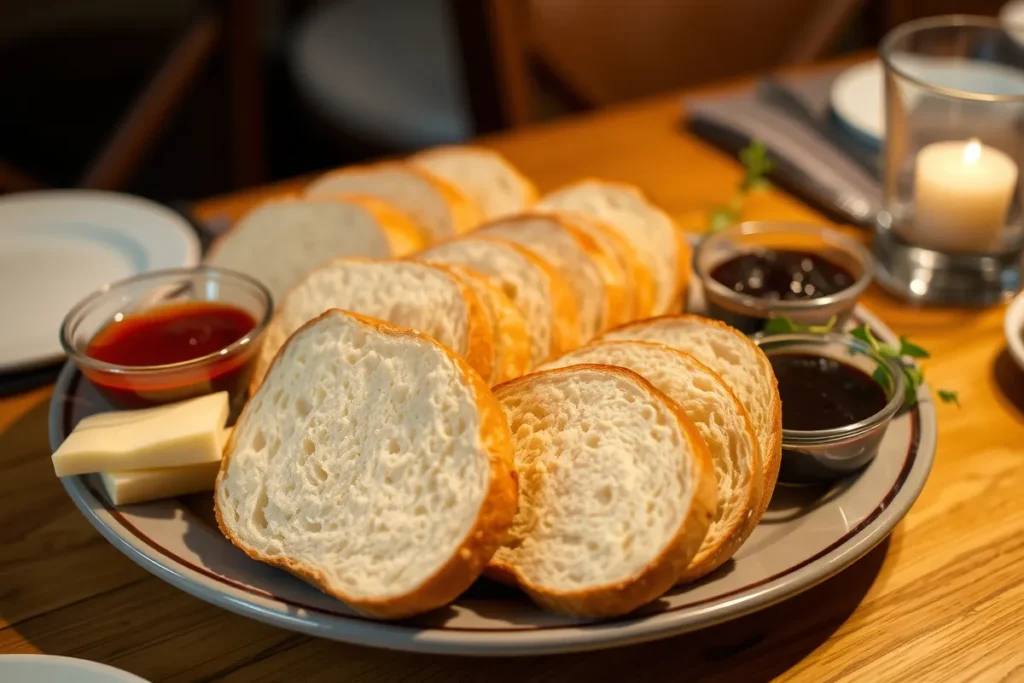
- Jam and Butter: Spread your favorite jam on a warm slice with a pat of butter.
- Eggs and Smoked Salmon: Top with a poached egg, smoked salmon, and a dash of dill for a brunch-worthy dish.
Frequently Asked Questions
Can I use all-purpose flour instead of bread flour?
Yes, all-purpose flour can be used in place of bread flour, though the texture may be slightly softer. If you want a chewier result, try to find bread flour.
How do I store classic white sandwich bread for maximum freshness?
Store your bread in a bread box or airtight container at room temperature. Avoid refrigerating, as it can dry out your bread faster.
What’s the best way to freeze homemade bread?
Slice the bread before freezing for easy access. Tightly wrap it in plastic wrap or aluminum foil, and then put it in a freezer-safe bag. Let it thaw at room temperature or toast it straight from the freezer.
Why did my bread turn out dense?
Dense bread could result from under-kneading or using inactive yeast. Ensure your ingredients are fresh and knead until the dough is smooth and elastic.
Conclusion: The Reward of Baking Your Own Classic White Sandwich Bread
Baking your own Classic White Sandwich Bread is not just about the delicious result; it’s about the entire experience. From the comforting aroma wafting through your kitchen to the joy of slicing into a warm loaf, this process is rewarding on many levels. You can control the ingredients, ensuring a healthier option for you and your family.
Now that you have all the steps and tips at your fingertips, it’s time to roll up your sleeves and give this recipe a try. Whether you enjoy it as a simple slice of toast or transform it into an elaborate sandwich, this bread is sure to become a staple in your home. Don’t forget to share your baking adventures and variations with friends and family—happy baking!

1 thought on “4 Secrets to Baking Classic White Sandwich Bread”